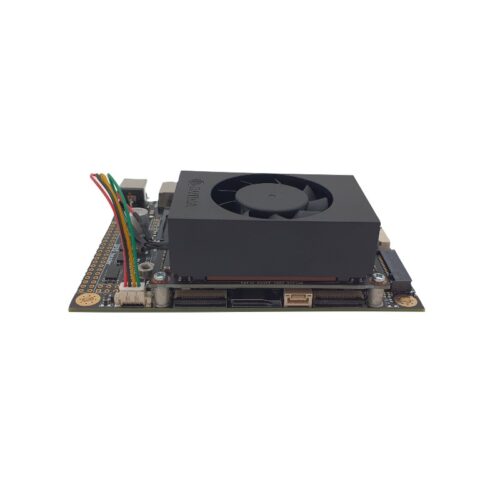
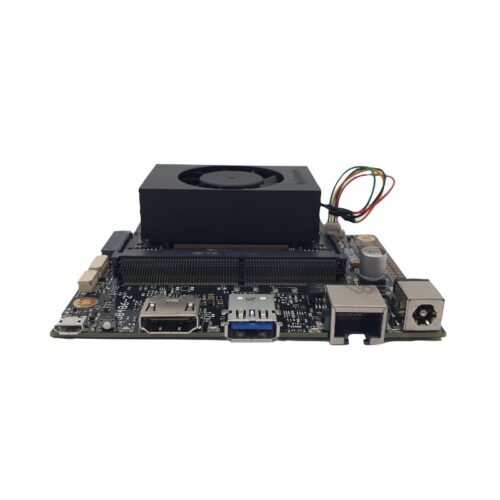
- Easy flashing (Auto Flash)
- High-performance storage: M.2 NVMe PCIe x4
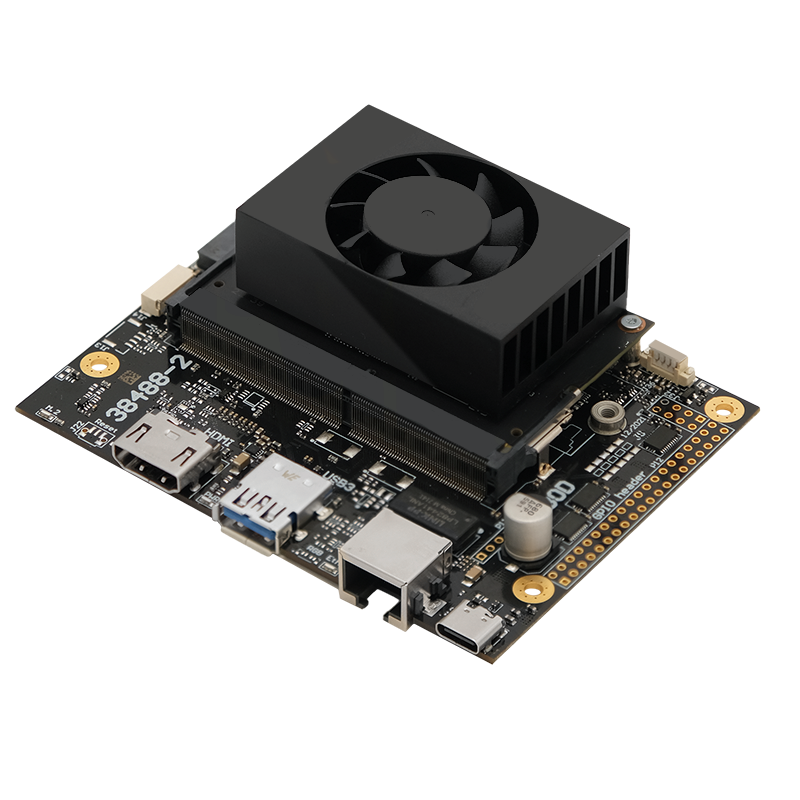
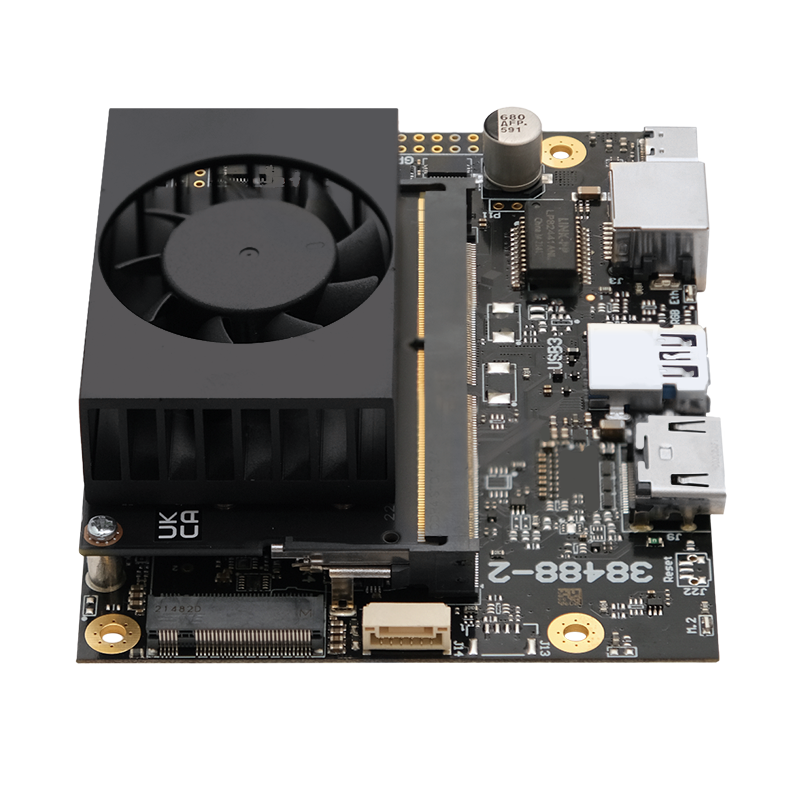
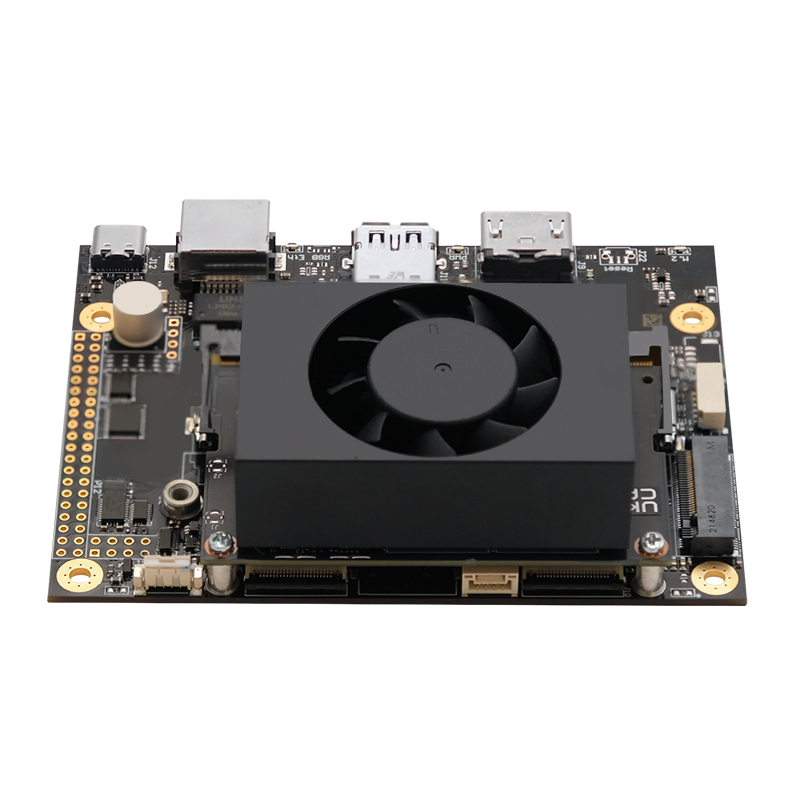
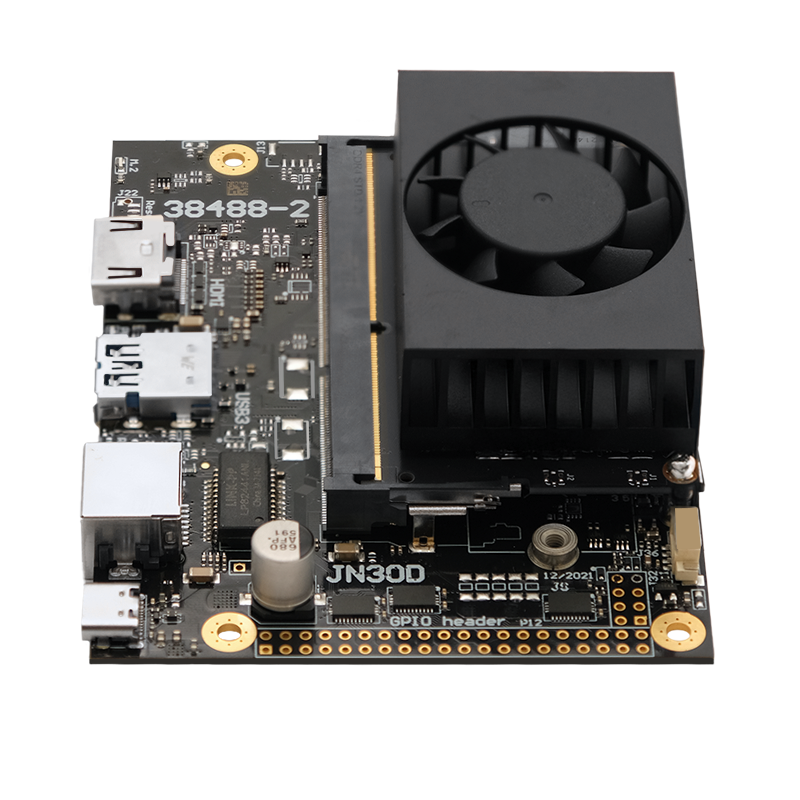
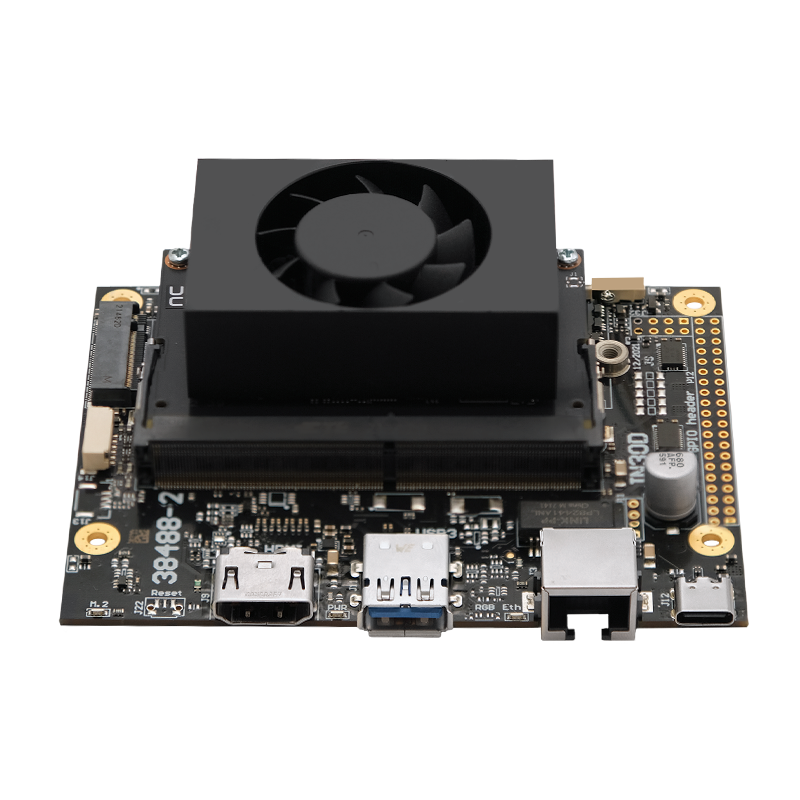

JN30D NVIDIA Jetson Nano Ready-to-Use AI Kit
Out of stock
SKU: JN30D-JNANO-KIT
Category: Ready-to-Use AI Kits
Tags: Auvidea AI Kits, Competition Equipment, Jetson Nano AI Kits

- Description
- Brand
- Carrier Board Specifications
- Jetson Nano Modul Datasheet
- JN30D Datasheet
- What's in the Box
- Setup
- Resources
Description
To put the JN30D carrier board into recovery mode:
- Connect or short the Force Recovery (7) and GND (8) pins using a jumper cable.
- Connect the carrier board to the host computer through the Type-C connector.
- Run the lsusb command in the host computer’s terminal. If a line beginning with NVIDIA Corp. appears, the kit has successfully entered recovery mode. If it does not appear, check your connections.

Brand
Auvidea
Carrier Board Specifications
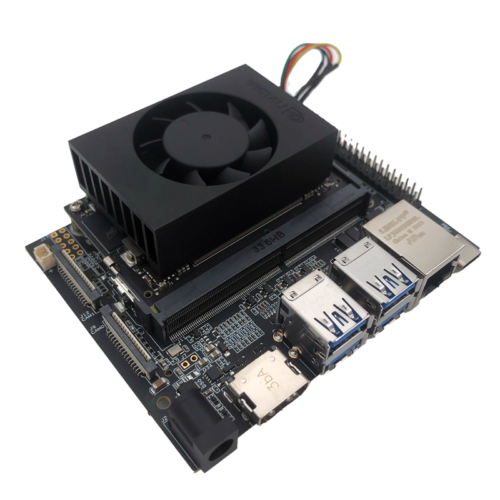
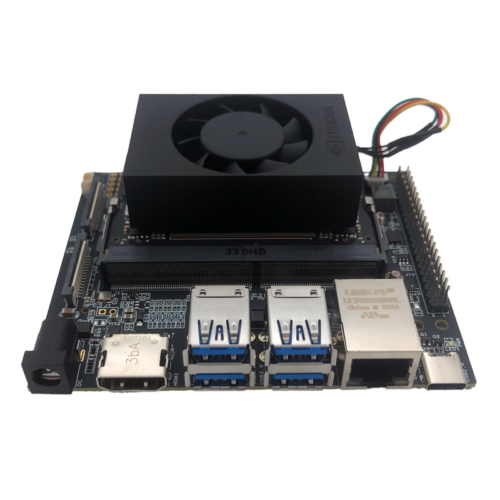
| Power | 5V 3A (USB-C) |
| HDMI | Yes |
| Fan Connector | Yes |
| M.2 NVME Key M | Yes |
| Micro SD Card | No |
| M.2 Key E | only with external module (using internal USB - J8) |
| USB 3.0 | 1x USB 3.1 |
| USB-C | 1x USB-C |
| Auto flash | Yes. (Plug in the host cable and flash.) |
| USB 2.0 | 1x USB 2.0 (JST-GH, J8) |
| Ethernet | Gigabit RJ45 (one LED) |
| PoE option | Yes- P11 |
| MIPI CSI-2 | 2x CSI-2 (4 lanes) plus camera LED (hardware synchronization available). |
| UART | console UART and user UART |
| I2C | 2x (40-pin header) |
| I2S | 1x (40-pin header) (5V tolerant, unidirectional) |
| SPI | 2x (40-pin header) (5V tolerant, unidirectional) |
| GPIO | 3x input + 3x output (40-pin header) (5V tolerant, unidirectional) |
Jetson Nano Modul Datasheet
JN30D Datasheet
What's in the Box
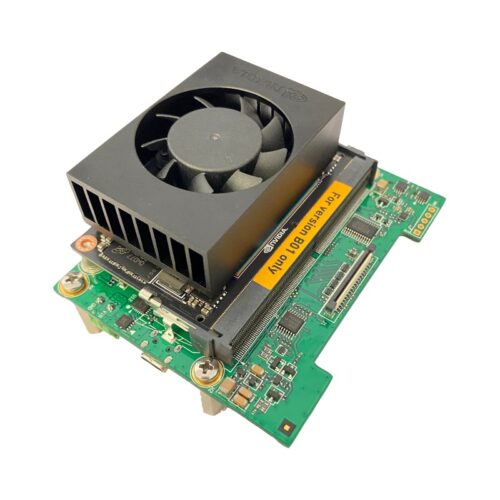
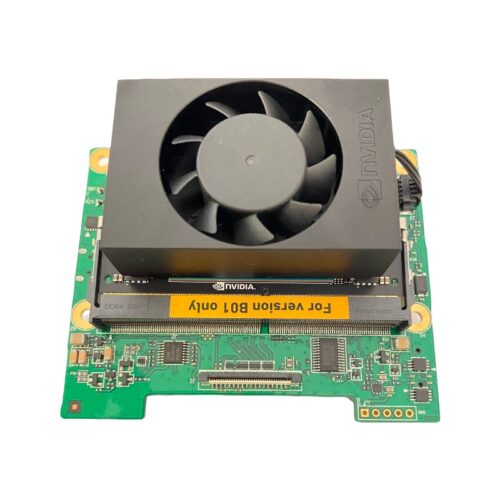
- Jetson Nano Module
- JN30D Carrier Board
Setup
You can access the setup file provided by the board manufacturer via the link below.
If you would like the product setup and testing to be carried out by OpenZeka engineers, you can select the BSP setup service when purchasing the product. Customers who did not select the setup service at the time of purchase and were unable to complete the setup afterwards can purchase the after-sales setup service. For this service, please send an email to [email protected].